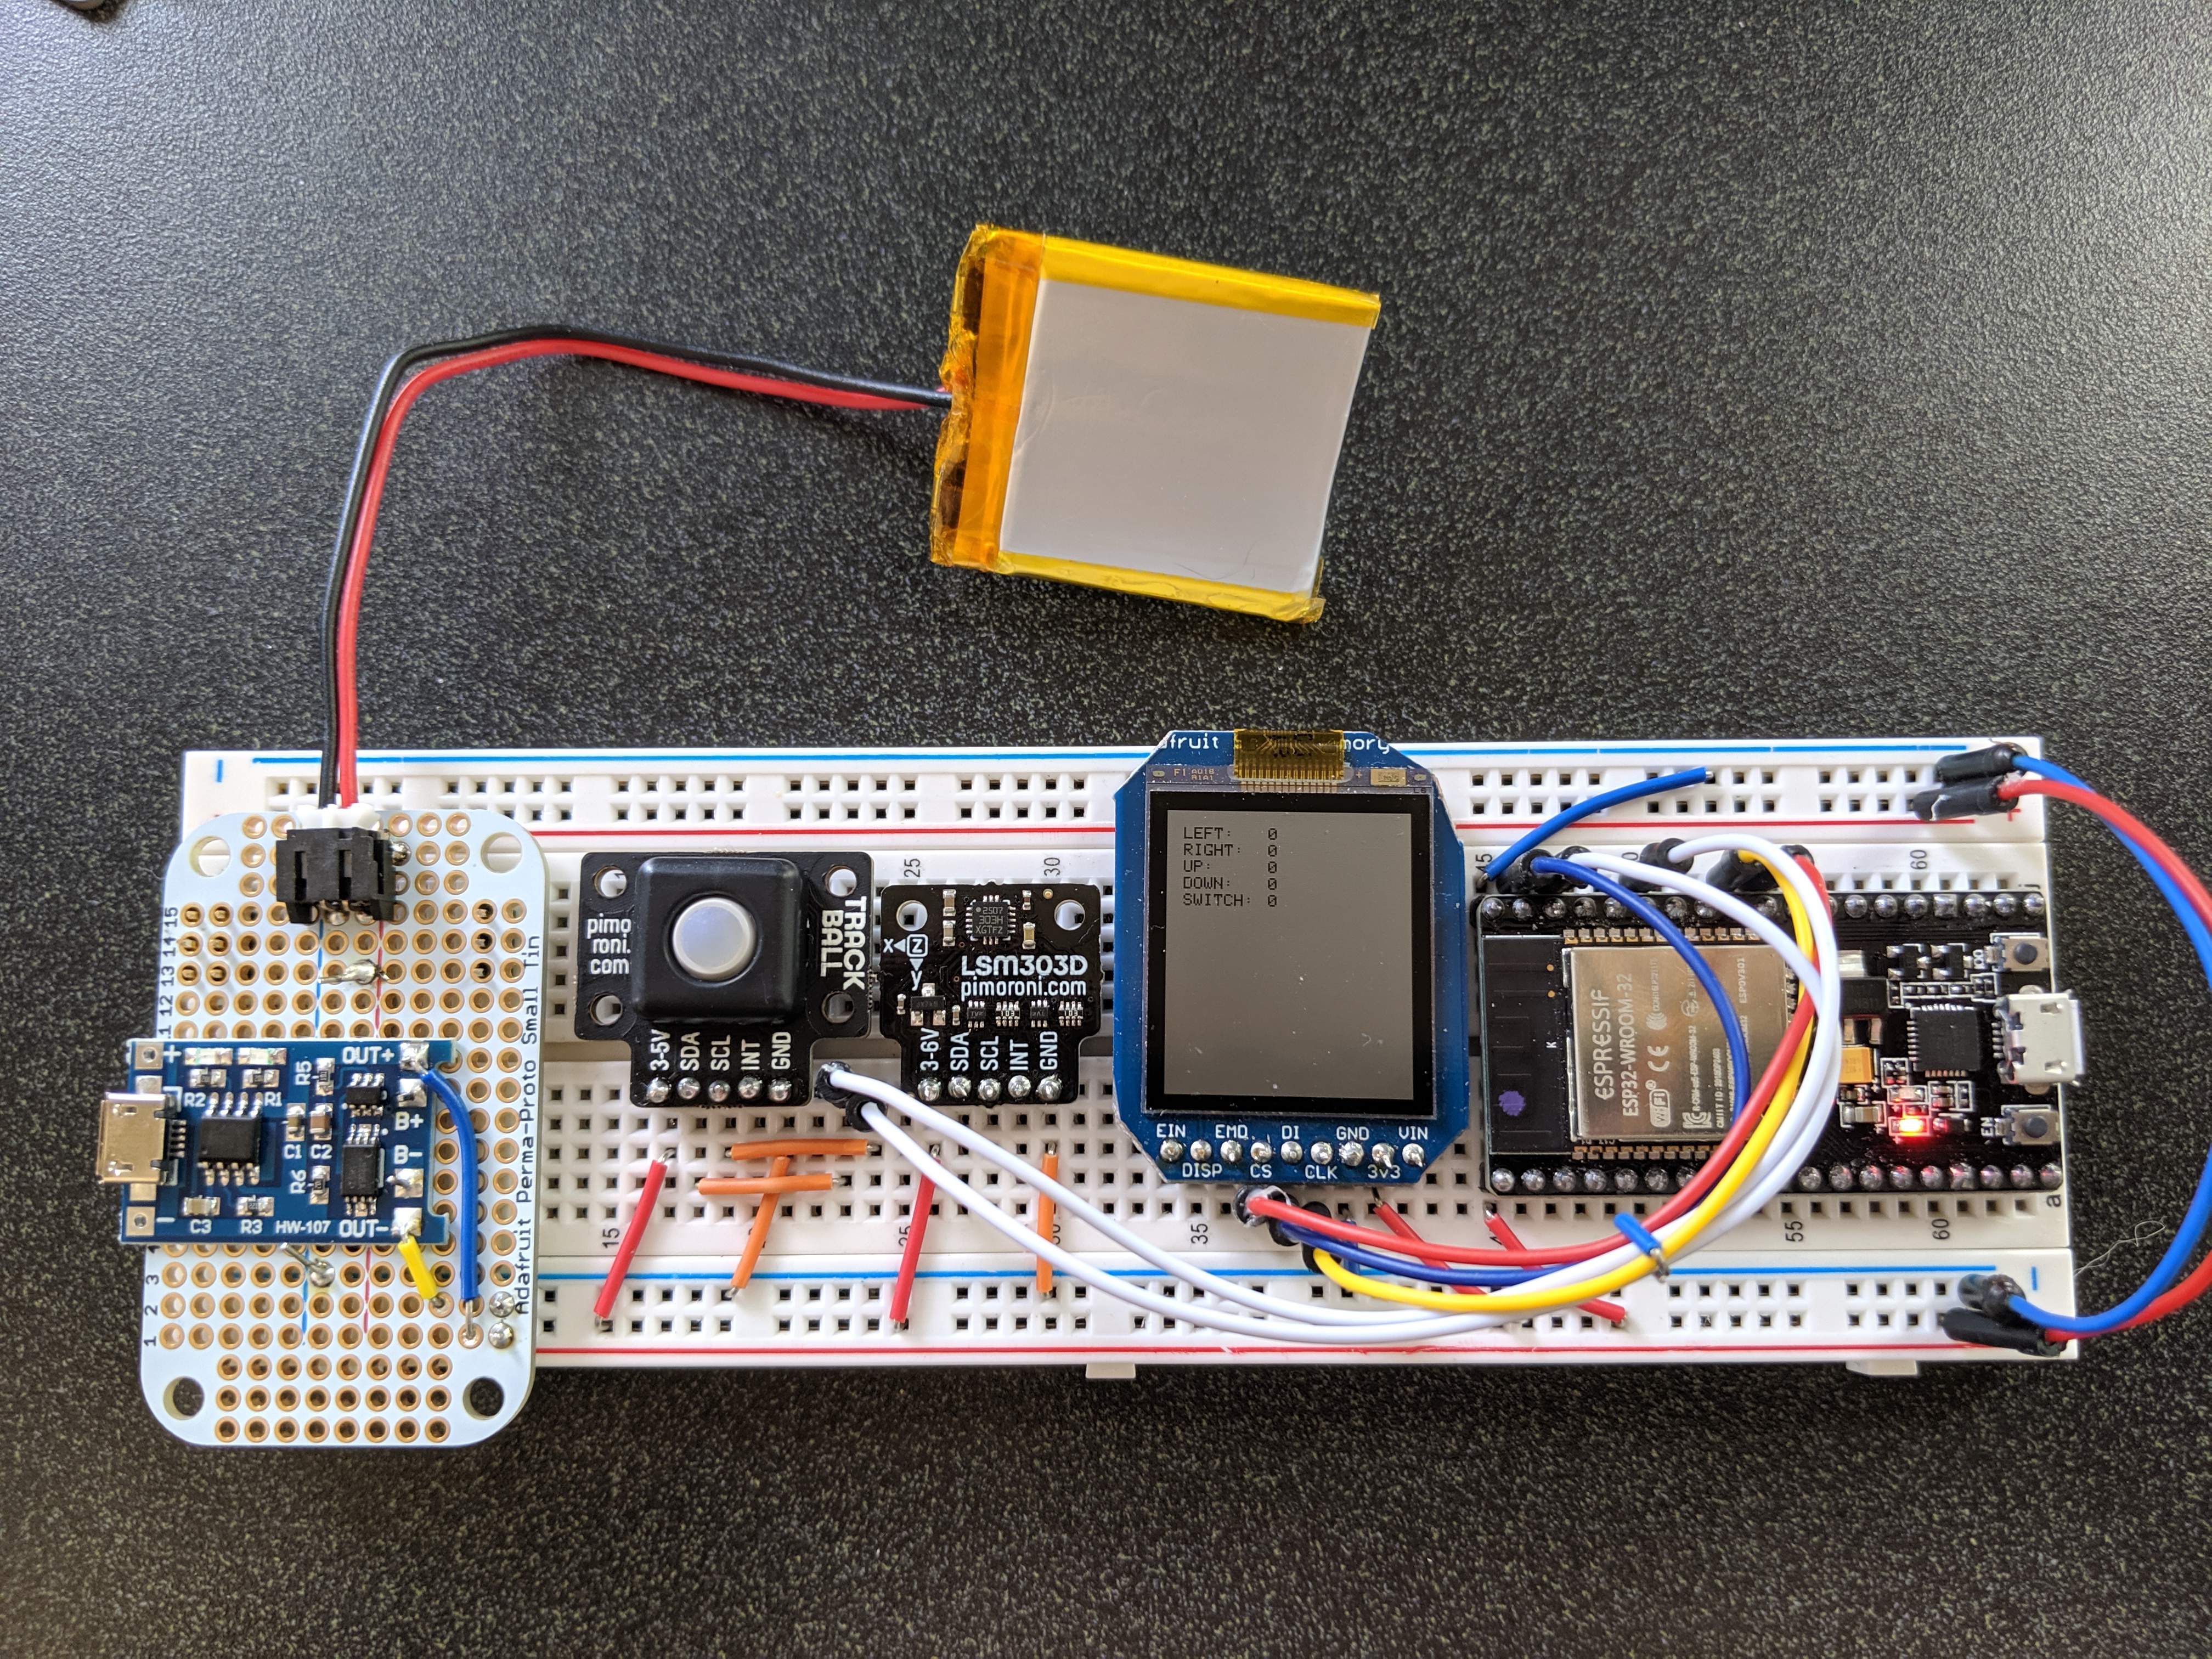
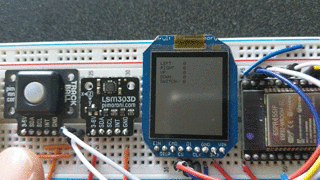
ESP32, Sharp Memory LCD, 6DOF and trackball
Confession: I have always used a library/wrapper for working with components.
At work, high-level stuff like Go, Python, REST/HTTP is the norm. Writing C, low level communications is not.
So when my shiny Pimoroni trackball arrived without an Arduino library: the horror. When I don’t find an Arduino library for a component, it usually turns into a paperweight.
But this is the tipping point. An RGB trackball is too cool to collect dust.
Today I learn how to I2C.
Setup
The trackball uses I2C. There’s a popular I2C library for Arduino called Wire, and you may have seen it before since it’s in a lot of plug-and-play Arduino libraries.
In a setup loop, initialize it
#include <WiFi.h>

void setup()
{
    Wire.begin();
}
Great, now what?
Cheat
Pimoroni shipped their trackball with a library. It’s just in Python, and intended for Raspberry Pis.
Taking a look, The first thing I see is a chip check
chip_id = struct.unpack("<H", bytearray(self.i2c_rdwr([REG_CHIP_ID_L], 2)))[0]
if chip_id != CHIP_ID:
    raise RuntimeError("Invalid chip ID: 0x{:04X}, expected 0x{:04X}".format(chip_id, CHIP_ID))
self.i2c_rdwr is the special sauce.
self.i2c_rdwr wraps a call to smbus2’s i2c_msg read/write function. From smbus2’s examples:
from smbus2 import SMBus, ic_msg

with SMBusWrapper(1) as bus:
    # Read 64 bytes from address 80
    msg = i2c_msg.read(80, 64)
    bus.i2c_rdwr(msg)

    # Write some bytes to address 80
    msg = i2c_msg.write(80, [65, 66, 67, 68])
    bus.i2c_rdwr(msg)
These are the two functions I need in Arduino: one to read messages from the trackball, and another to write.
Google “read/write I2C bytes arduino wire pls help”
And Google delivers
/* source of code:
https://www.electroschematics.com/9798/reading-temperatures-i2c-arduino/ */

int read_temp(int address) {
  //start the communication with IC with the address xx
  Wire.beginTransmission(address);
  //send a bit and ask for register zero
  Wire.write(0);
  //end transmission
  Wire.endTransmission();
  //request 1 byte from address xx
  Wire.requestFrom(address, 1);
  //wait for response
  while(Wire.available() == 0);
  //put the temperature in variable c
  int c = Wire.read();
  return c;
}
Here’s the gist:
beginTransmission takes the address of the device to send data to. For the Pimoroni trackball, this is 0x0A.
write in this example is misleading. It is sending a bit (0x00, the address of the temperature sensor register). But I want to read trackball positions. That address is 0x04 according to the Python code.
endTransmission writes the bit (or bytes) submitted through write.
requestFrom takes the address of the device (again) and a number of bytes to wait for. The bytes are stacked in a queue inside of Wire
while(Wire.available() == 0) blocks, waiting for the queue to fill
Wire.read() pops the first byte off the queue
Putting it all together
The example reads one byte in the response from the temperature register.
I get five from the trackball register 0x04: 4 bytes for up/down/left/right, and 1 byte to indicate if the trackball is pressed.
#include <Wire.h>

#define TRACKBALL_ADDR 0x0A
#define TRACK_BALL_REG_LEFT 0x04

void setup()
{
    Serial.begin(115200);
    Wire.begin();
}

void loop()
{
    Wire.beginTransmission(TRACKBALL_ADDR);
    Wire.write(TRACK_BALL_REG_LEFT);
    Wire.endTransmission();

    Wire.requestFrom(TRACKBALL_ADDR, 5);
    while(Wire.available() < 5);

    for (int i = 0; i < 5; i++) {
        Serial.println(Wire.read())
    }

    delay(200);
}
Conclusion
Working with I2C seems easy, but there’s more to learn. The Python library uses interrupts and lots of fancy bitshifting that will take more reading.
But for now, if I have to use I2C directly, I’m not at a complete loss.
Trackballs and Sharp Memory LCDs for life!